DIY Lighting Projects: 7 Easy Ideas to Transform Your Home in 2024
Did you know that lighting accounts for about 15% of a typical home’s electricity use?
But who says it can’t be fun and personal too? Welcome to the world of DIY lighting projects! In 2024, it’s all about adding a personal touch to your home décor, and what better way than creating your own unique light fixtures?
Whether you’re a seasoned crafter or a DIY newbie, we’ve got 7 easy and exciting projects that will light up your space and your creativity. Ready to flip the switch on boring store-bought lamps? Let’s dive in and get our hands glowing… err, going!
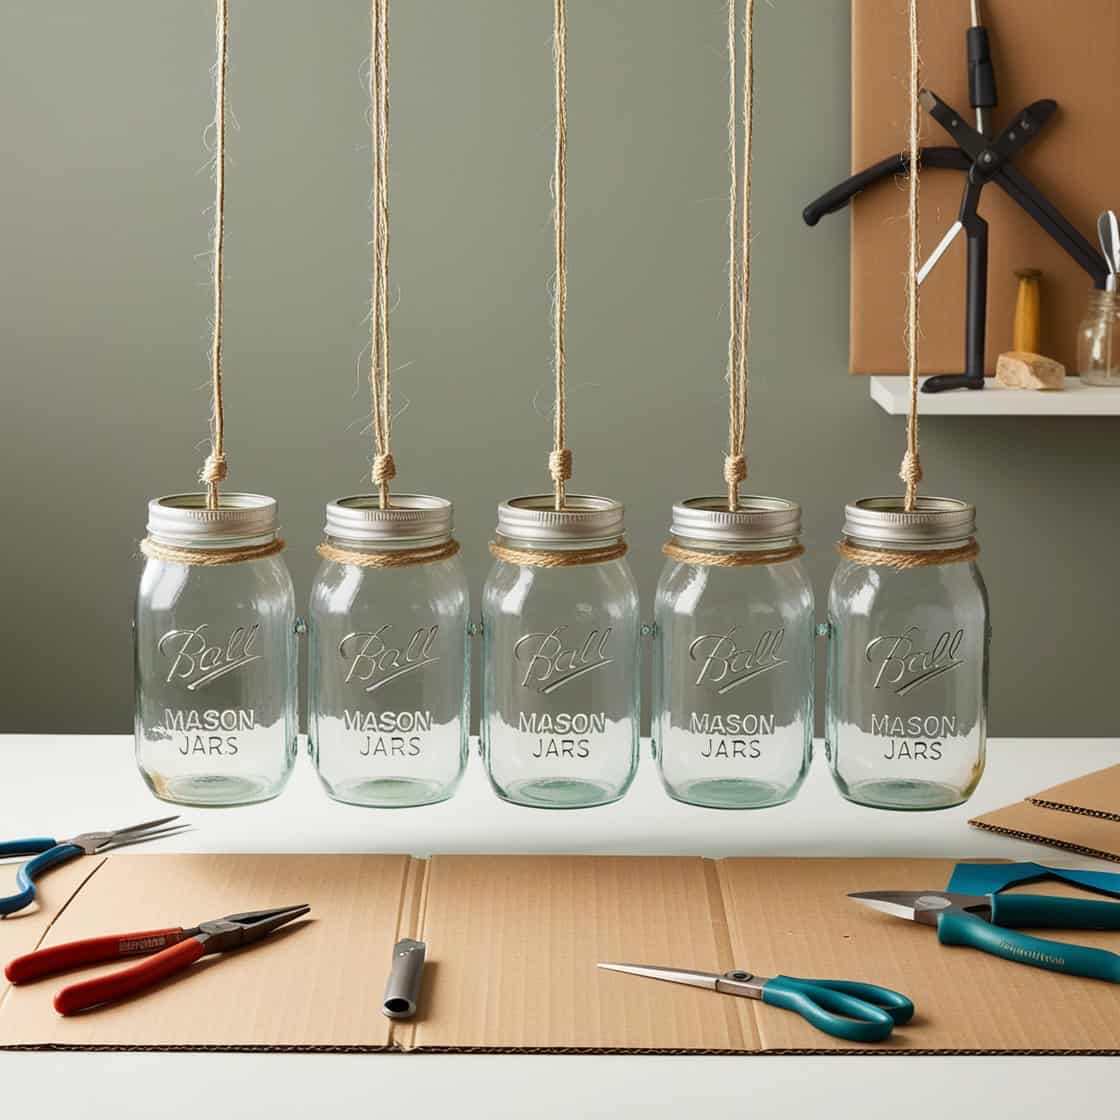
1. Mason Jar Pendant Lights: Rustic Charm Meets Modern Chic DIY Lighting Projects
Here’s the thing about mason jar pendant lights that nobody tells you upfront – the wiring can be trickier than those Pinterest photos make it look. You’ll need:
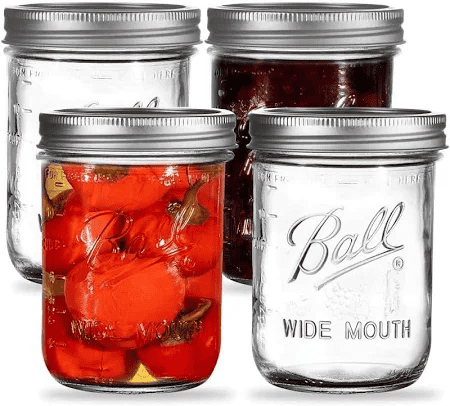
• Materials needed and where to find them: Wide-mouth mason jars (seriously, don’t mess with regular mouth)
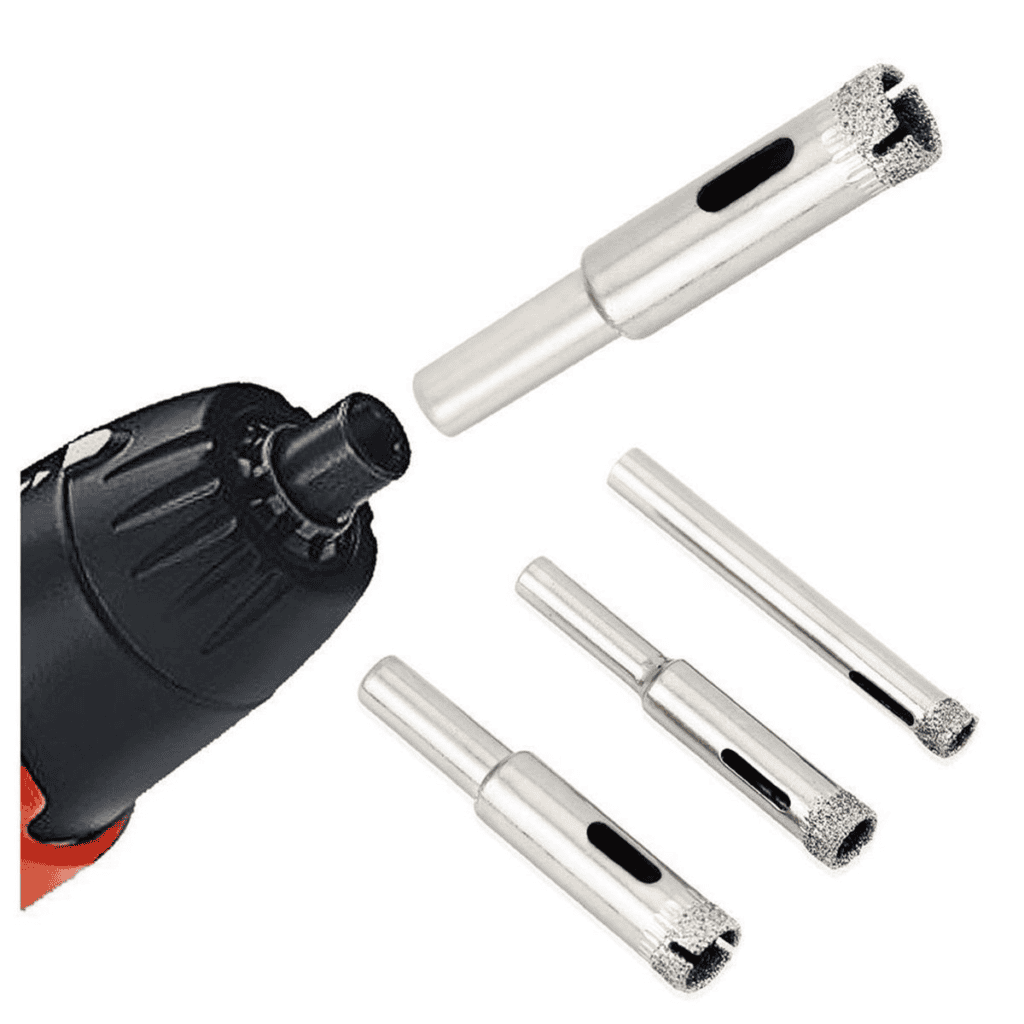
. A diamond-tipped drill bit (1/2 inch works perfect)
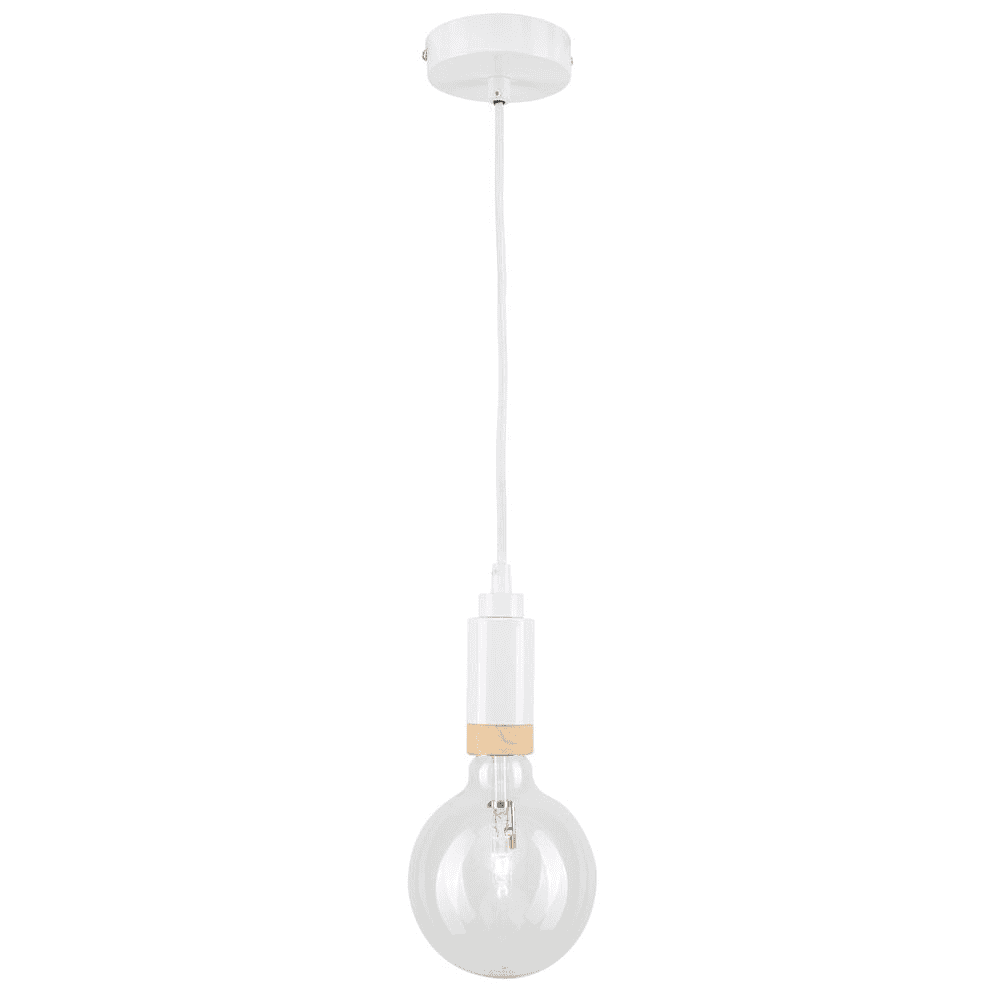
. Pendant light kit (around $15-20 each)
https://www.bunnings.com.au/brilliant-194cm-white-timber-conway-pendant-suspension-kit
. Rubber grommets to protect the wiring
. Optional: vintage-style Edison bulbs (they make SUCH a difference) Speaking of safety, here’s something crucial that often gets overlooked: make sure your bulb wattage matches what your pendant kit can handle.
Let’s talk about drilling that hole for a sec. Fill your sink with cool water, enough to submerge about half the jar. This keeps the glass from overheating while you drill. Go slow – like, seriously slow. It took me forever to learn patience with this step, but rushing it is basically guaranteeing a cracked jar. Apply gentle pressure and let the drill bit do the work.
The absolute game-changer for me was discovering rubber grommets. My first few projects, I just ran the wire through the drilled hole. Big mistake! Over time, the sharp edges of the glass can wear down the wire coating. Not exactly what you want hanging over your dining room table! A 50-cent grommet solves this problem completely.
For mounting, I’ve found that creating a custom wood plank mount adds so much character. You can distress it, stain it, paint it – whatever matches your vibe. DIY Lighting Projects means flexibility.
One of my favourite tricks I’ve discovered is spraying the inside of the jar with looking glass spray paint. It gives this gorgeous mercury glass effect when the light hits it, and it helps diffuse the light so it’s not so harsh. Just make sure you spray in thin layers – I learned that one the hard way after ending up with some pretty gnarly drip marks.
The best part about DIY Lighting projects? You can usually complete it for under $50 per light, and it genuinely looks like something you’d pay hundreds for in those fancy farmhouse boutiques. Plus, there’s something really satisfying about flipping that switch for the first time and seeing your creation illuminate the space.
2. Geometric Cardboard Lampshade: Sculptural Elegance on a Budget DIY Lighting Projects
Let me tell you about my journey into the world of geometric cardboard lampshades – DIY Lighting projects that literally started from me staring at a pile of Amazon boxes in my garage one rainy weekend. Who knew cardboard could look so high-end when done right?
First things first – not all cardboard is created equal. Trust me on this one. After making about a dozen of these shades, I’ve learned that double-corrugated cardboard is your best friend. The thicker stuff from TV boxes? Perfect. Those flimsy Amazon mailers? Not so much. You want something sturdy enough to hold its shape but still easy enough to cut cleanly.
Here’s what you’ll need to get started:
- Clean cardboard (no shipping labels or tape residue)
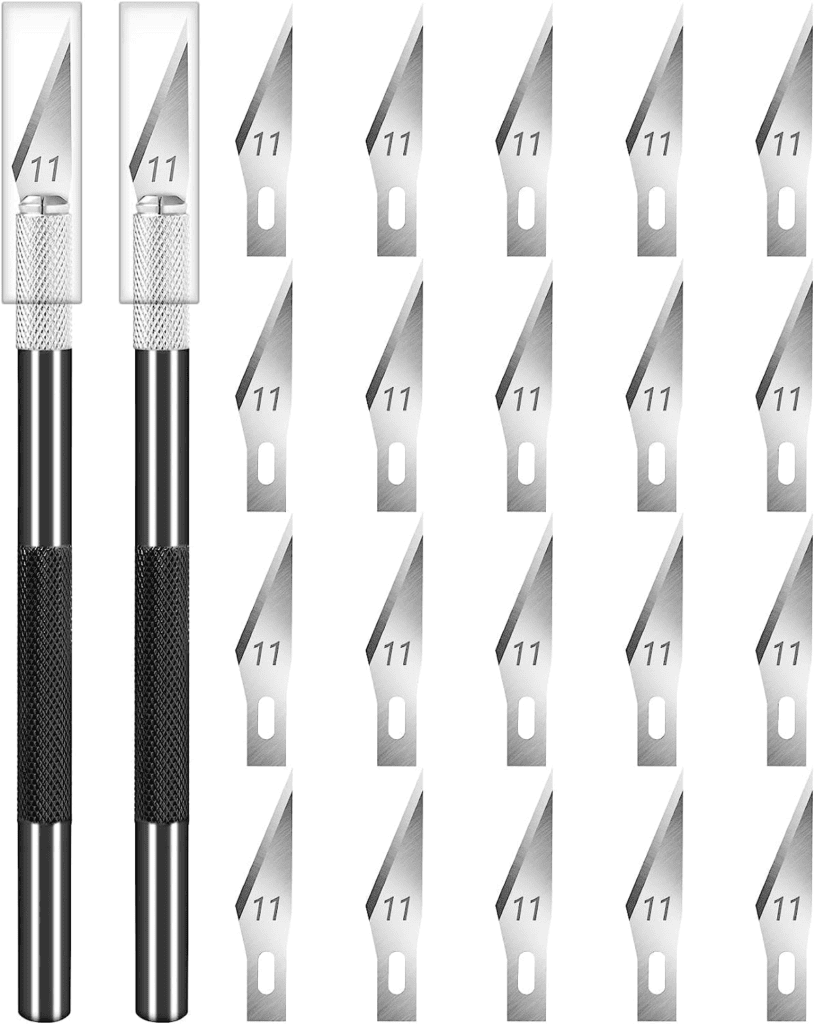
2. Sharp Exacto knife (seriously, don’t skimp here)
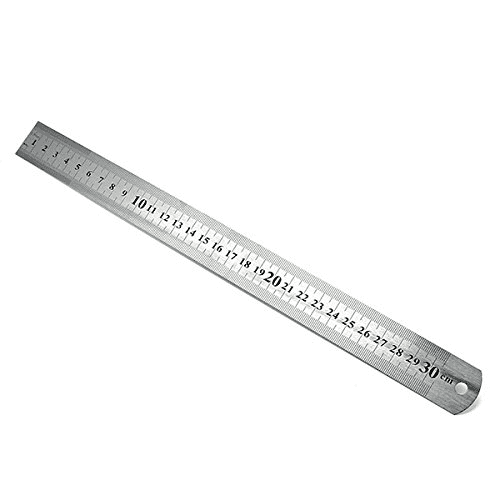
3. Metal ruler (plastic ones are a disaster waiting to happen)
4. Pencil and eraser
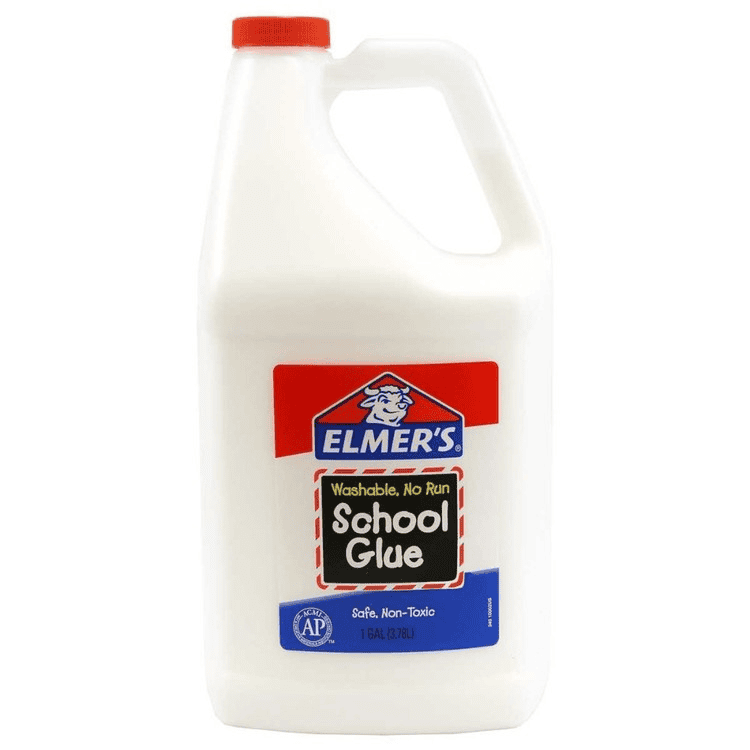
5. White glue or hot glue gun

6. LED bulb fixture (important – we’ll talk about fire safety in a minute)
The biggest mistake I made starting out? Not having a solid template. I thought I could just wing it with random triangles and they’d somehow come together beautifully. Spoiler alert: they didn’t. Now I always sketch out my design on paper first, making sure all the angles actually work together. Basic geometry finally came in handy when doing DIY Lighting projects!
Safety talk time (because I learned this one the hard way): Always, ALWAYS use LED bulbs with cardboard shades. Regular incandescent bulbs get way too hot. I had a close call with my first shade using a regular bulb – noticed it starting to brown slightly around the edges. Not exactly the look I was going for, and definitely not safe.
One trick I’ve discovered that makes these look super professional is scoring the cardboard before folding. Run your Exacto knife lightly along your fold lines (just through the top layer), and you’ll get these crisp, clean edges that look almost machine-made. It takes a bit more time, but the results are totally worth it.
For finishing, I originally just left the cardboard raw, which… well, looked exactly like what it was – a cardboard box. Now I either spray paint them (using light coats to avoid warping) or cover them with paper. My personal favourite technique is using rice paper – it gives this amazing textured look when the light shines through.
The absolute game-changer in my geometric shade journey was discovering that white glue works better than hot glue for most joins. Hot glue can create bumpy areas that show through when the light’s on, while white glue dries nice and flat. Plus, it gives you a bit of wiggle room to adjust your pieces before they set.
Want to take it up a notch? Try adding a metallic paint to the inside of your shade. It reflects the light beautifully and gives the whole piece this unexpected luxe feel. I use copper spray paint super lightly – just enough to catch the light without looking metallic when the lamp is off.
Size-wise, I’ve found that anything larger than 18 inches starts to get unwieldy with cardboard. The sweet spot seems to be around 12-15 inches – big enough to make a statement but small enough to maintain structural integrity. And remember to account for the bulb size in your design – you want at least 4 inches clearance around the bulb.
One more pro tip: before you start cutting your final piece, make a mini version first. Like, tiny tiny. It’ll help you spot any potential issues with your design before you commit to the full-size version. I keep a collection of my mini prototypes – they make cute little tea light holders!
The best part about this project? When people ask where you got your designer lampshade, you get to say “Oh, I made it!” And watch their jaws drop when you tell them it’s cardboard. Just maybe don’t mention it was from your recycling bin… unless you want to blow their minds even more!
3. Wine Bottle Table Lamp: Upcycled Sophistication
Let’s talk about bottle selection because this is crucial, folks. Not all wine bottles are created equal! I’ve found that bottles with unique shapes or colours make the most striking lamps for your DIY Lighting Projects.
Those square-sided bottles from Francis Coppola wines? Absolutely perfect. And don’t even get me started on the beautiful blue of Riesling bottles – they create this amazing ambient light that just can’t be beat.
Here’s what you’ll need for this project:
- Empty wine bottle (thoroughly cleaned – soap residue will mess up your drilling)
- Diamond-tipped bottle drilling bit (1/2 inch works best)
- Lamp kit with cord (around $15 at hardware stores)
- Rubber grommet
- Safety glasses and gloves (trust me on this one)
- Bucket or container for water cooling
- Lampshade with uno fitter
Fill your sink or a large bucket with cool water. The bottle should be submerged where you’re drilling. Start your drill at an angle (about 45 degrees) to create a small groove, then slowly bring it upright. The water keeps the glass from overheating and breaking – something I wish I’d known before destroying half my recycling bin!
One mistake I see people make all the time is rushing the drilling process. Listen, I get it – watching paint dry is probably more exciting. But slow and steady absolutely wins this race. It usually takes me about 5-7 minutes to drill through a bottle. Any faster and you’re just asking for cracks.
For the lamp kit installation, here’s a pro tip I stumbled upon: thread your cord through before attaching anything else.
The most common question I get is about stability. Your bottle needs to be properly weighted or it’ll topple faster than a Jenga tower. I’ve started using a clear epoxy resin to fill the bottom third of my bottles – adds weight and looks pretty cool too! Just make sure you seal the cord entry point first, or you’ll have a messy surprise.
Let’s talk about lampshades. The height of your shade makes a huge difference in how polished your lamp looks. My rule of thumb? The shade should be about 3/4 the height of your bottle for table lamps. Anything shorter looks stubby, anything taller gets weird. And please, for the love of good design, make sure your shade sits straight! Nothing ruins the sophisticated vibe faster than a crooked shade.
Safety note that I learned the hard way: always, ALWAYS use a rubber grommet where your cord exits the bottle. The glass edge will eventually wear through your cord otherwise.
Want to take your lamp to the next level? Try adding fairy lights inside along with your main bulb. It creates this gorgeous layered lighting effect that’s perfect for evening ambiance. Just make sure you’re using LED lights – they don’t heat up like traditional bulbs.
The best part about these lamps? They’re totally customizable. I’ve done everything from clear bottles with simple white shades (very modern minimalist) to green bottles with vintage-style shades (perfect for that library vibe). Each one has its own personality, and they make amazing gifts. Though fair warning – once you make one for someone, everyone’s going to want one!
4. Copper Pipe Floor Lamp: Industrial Chic Made Easy
First things first – you need to understand that not all copper pipe is created equal. I learned this lesson after wasting money on the super cheap stuff that ended up looking, well, super cheap. Lesson learned when DIY Lighting projects.
You want Type M copper pipe – it’s got the perfect balance of durability and workability, plus it develops this gorgeous patina over time.
Here’s your shopping list (trust me, make two trips if you need to – you don’t want to be short halfway through):
- 3/4 inch copper pipe (about 8 feet total)
- Various copper fittings (T-joints, elbows, caps)
- Pipe cutter (don’t even think about using a hacksaw)
- Wire brush or steel wool
- Lamp kit with cord
- Flange for the base
- Socket wrench set
- Clear lacquer (optional)
- LED bulb
Let me tell you about my first major fail – I didn’t clean the pipes properly before assembly. I spend a good 15 minutes with steel wool making those pipes shine before I do anything else. It’s oddly satisfying, actually.
The trickiest part of the whole DIY Lighting projects is getting your measurements right. I now use masking tape to mark my cutting lines – way more accurate than trying to eyeball it with a Sharpie (learned that one the hard way).
Here’s a game-changing tip I discovered: dry fit EVERYTHING before applying any glue or solder. I mean everything.
Speaking of soldering – you might be wondering if you need to solder the joints. Here’s the thing: if you cut your pipes precisely and use good quality fittings, they’ll actually hold together pretty well with just friction. I personally like to use a tiny dot of clear epoxy on the joints – gives me peace of mind without the hassle of soldering.
The base needs to be heavy enough to prevent tipping. My first lamp had a base that was way too light, and it took a nosedive every time someone walked past it. Now I attach a 12-inch circular flange and add some discrete weights inside the bottom pipe section. Works like a charm!
For the wiring (this is important, folks), you want to plan your route before you start assembling. Nothing worse than realizing you can’t feed the wire through because of a weird angle you created.
One question I get a lot is about finishing. You’ve got options: let it develop a natural patina (gorgeous but takes time), seal it with clear lacquer (stays shiny forever), or force a patina using chemicals (fun but unpredictable). I personally love letting nature do its thing – each lamp develops its own unique character over time.
Height-wise, I’ve found that 60-65 inches total is the sweet spot for most rooms. Any taller and you’re getting into giraffe territory, any shorter and it starts looking more like a table lamp having delusions of grandeur.
Pro tip that took me way too long to figure out: if you’re using a regular lamp shade, make sure your vertical pipe is perfectly plumb (that’s fancy talk for straight up and down). Even a slight angle will make your shade look like it’s trying to escape, and that’s not the look we’re going for!
5. Paper Lantern Chandelier: Whimsical Overhead Lighting
Let me share my journey into creating paper lantern chandeliers – a project that started because I couldn’t stomach the $500 price tag on a designer version I fell in love with. Turns out, DIY Lighting projects is totally doable, though my first attempt looked more like a kindergarten art project gone wrong!
Listen, after creating dozens of these beauties, I’ve learned that paper selection is EVERYTHING. Not all paper is created equal, folks! Rice paper has this gorgeous translucency that’s perfect for this project, but it can be pretty finicky to work with. I discovered this when my first lantern basically disintegrated while I was working on it. Mulberry paper is more forgiving for beginners, and double-sided origami paper works great too.
Here’s what you’ll need to get started:
- Various sizes of paper (at least 3 different sizes for interest)
- Strong craft wire (18 gauge works best)
- LED string lights or small LED bulbs
- Wire cutters and needle-nose pliers
- Clear fishing line
- Round wooden embroidery hoops (2 different sizes)
- Strong craft glue or hot glue gun
- Metal ring for the base structure
The biggest game-changer in my paper lantern journey was discovering that you need to create a proper support structure first. My initial attempt at just hanging paper balls from strings? Yeah… gravity had other plans. Now I use two wooden embroidery hoops arranged in a sphere shape with wire cross-supports. Way more stable!
Here’s a pro tip: pre-fold all your paper before starting assembly. Like, every single piece. I spent three hours one Saturday trying to fold and attach simultaneously, and let me tell you – that’s not the way to go. Fold everything first, take a coffee break, then start assembling.
Let’s talk about lighting because this is crucial. Regular bulbs are an absolute no-go – they get too hot and are basically a fire waiting to happen. LED string lights are your best friend here. They stay cool, they’re flexible, and they give this amazing ethereal glow through the paper.
The trickiest part? Getting all those lanterns to hang at different heights without looking messy. Here’s my secret: I use clear fishing line in different lengths, but – and this is key – I map out the arrangement on paper first. Think of it like a chandelier blueprint. My first try looked like a cluster of paper balls having an identity crisis.
One mistake I see people make is rushing the glue drying time. But if you don’t let each section dry completely before moving on, you’ll end up with droopy lanterns that look sad instead of sophisticated.
Want to take your chandelier to the next level? Try incorporating different paper textures within the same colour family. I did one with white rice paper, vellum, and translucent tracing paper – the way light plays off the different surfaces is absolutely stunning one of my best DIY Lighting Projects
Here’s something nobody tells you about paper lantern chandeliers: humidity is not your friend. If you’re in a humid climate like I am, you might want to consider spraying your finished lanterns with a light coat of clear sealant. Just test it on a scrap piece first – some sealants can make paper go weirdly transparent.
The hanging mechanism is super important. I learned (the hard way, naturally) that you need something stronger than just a hook in the ceiling. I now use a proper swag hook rated for at least 10 pounds. Better safe than sorry, right?
Speaking of safety, always Always get an electrician to hardwire your chandelier or a pre done socket. My first one was just plugged into a ceiling socket with the cord draped along the ceiling – not exactly up to code!
Size-wise, I’ve found that a diameter of about 24-30 inches works best for most spaces. Any larger and it starts looking like a paper UFO landed in your dining room. Any smaller and you lose that wow factor we’re going for.
One last trick: add small paper tassels or delicate paper flowers to some of the lanterns. It gives the whole piece this amazing organic feel, like each lantern is its own little art piece. Plus, it helps hide any slightly wonky folds – not that we have those, right?
Remember, your first attempt might not look exactly like that $500 inspiration piece, and that’s totally okay! Each one gets better, and pretty soon you’ll be the one giving advice to friends who want to jump on the paper lantern chandelier bandwagon. Just maybe keep a fire extinguisher handy during that first LED installation… kidding! (Sort of.)
6. Driftwood Sconce: Bringing Nature Indoors
You know what started my driftwood sconce obsession? Finding this gorgeous piece of sun-bleached wood during a beach walk and thinking, “This looks way too cool to just sit on a shelf.” Fifteen sconces later, I’ve learned quite a bit about turning beach treasures into functional art om y journey making DIY Lighting projects!
Let me tell you, not all driftwood is sconce-worthy. I learned this after trying to use a piece that was still a bit damp inside – hello, mold! Now I have a “curing” shelf in my garage where pieces sit for at least a month. I test each piece by tapping it on concrete – if it sounds hollow, it’s ready to go. If it sounds dull, it needs more drying time.
Here’s what you’ll need for this project:
- Well-dried driftwood piece (flat-ish on one side works best)
- Wall-mounting bracket or keyhole hangers
- LED candelabra socket with cord
- Wood screws (stainless steel to prevent rust)
- Clear silicone caulk
- Drill with various bits
- Wire brush
- Clear sealant spray
- Level (trust me on this one)
First major mistake I made? Not cleaning the wood properly. Beach wood can harbor all sorts of tiny creatures and salt. Now I give each piece a good scrub with a wire brush, then a vinegar-water solution to kill any lingering bacteria. Let it dry completely – and I mean completely – before starting your project.
Here’s a game-changing tip I discovered: use a paper template. Place your driftwood on paper, trace around it, and mark where you want your light fixture. This becomes your drilling guide and helps you avoid those “oops, that’s not where I wanted that hole” moments. .
The trickiest part is definitely mounting these bad boys. Driftwood isn’t exactly known for its perfectly flat surfaces! I’ve found that using multiple keyhole hangers works better than trying to create one solid mounting point.
For the wiring (this is crucial), you want to create a channel in the back of the wood for your cord. I use a Dremel tool with a routing bit – way more control than trying to chisel it out by hand.
Speaking of light fixtures, here’s something nobody tells you: position your bulb so it casts interesting shadows from the wood’s natural texture. I spent hours rearranging one fixture before I realized that angling it slightly backward created these amazing patterns on the wall. Total accident, but now it’s my signature look!
Want to know my secret for a professional finish? Clear silicone caulk around the wire entry points. It’s waterproof, flexible, and practically invisible.
Temperature is something to consider too. Even LED bulbs generate some heat, so make sure there’s enough airspace around your fixture. I once created a sconce that was a bit too… cosy with its bulb. Nothing dramatic happened, but the slight scorching wasn’t exactly the look I was going for.
The absolute best tip I can share? Don’t over-sand your driftwood. I got a bit enthusiastic with my first few pieces and ended up with wood that looked more “craft store” than “ocean-weathered.” Now I just clean them well and maybe smooth out any particularly sharp edges. Nature usually does a better job at designing than we do!
Size-wise, I’ve found that pieces between 18-24 inches work best for single sconces. Any larger and they start looking like shipwreck salvage (though that could be cool in the right space). Any smaller and they get lost on the wall.
One last pro tip: spray your finished piece with a clear, matte UV-resistant sealant. Keeps the wood looking gorgeous without that artificial shiny look. I learned about UV protection after one of my early sconces started fading in a sunny spot – not exactly the weathered look I was going for!
Just remember – every piece of driftwood is unique, which means every sconce will be one-of-a-kind. That slightly crooked angle or unusual grain pattern? That’s not a flaw, that’s character! And when people ask where you got your amazing wall light, you get to say “Oh, I made it!” Just maybe don’t mention the three failed attempts currently serving as doorstops…
7. Concrete Pendant Light: Minimalist Modern Appeal
You know what got me started with concrete pendant lights? Walking into a high-end design store and seeing this stunning minimal pendant priced at – wait for it – $450! I literally laughed out loud. After some experimenting (and yes, quite a few concrete catastrophes), I figured out how to make these beauties for about $30 each.
Let me tell you about materials, because this is where I majorly messed up at first. For any DIY Lighting projects not all concrete is created equal! Skip the basic stuff from the home improvement store. You want Rapid Set Cement All or a similar fine-particle cement mix. Trust me, I learned this after creating what looked like a moon rock instead of a sleek pendant.
Here’s your supply list:
- Fine-particle cement mix
- Plastic molds (I use 6-inch diameter plastic bowls)
- Pendant light kit with cord
- Cooking spray (weird, but crucial)
- Disposable cups for mixing
- Sturdy wire for hanging forms
- 1/2 inch PVC pipe (for cord channel)
- Rubber or nitrile gloves
- Sandpaper (80, 120, and 220 grit)
- Concrete sealer
First major learning moment? Bubbles are your enemy! My first few pendants looked like they had chicken pox because I didn’t know about tapping the mold to release air bubbles. Now I tap the sides of the mold with a rubber mallet for a good minute – looks weird, but works like magic.
Here’s the game-changing tip that took me way too many fails to figure out: create your cord channel DURING the pour, not after. I spent hours trying to drill through hardened concrete before realizing I could just embed a piece of PVC pipe while the concrete was wet. Remove it when the concrete is partially set, and voila – perfect channel!
The mold release is crucial, folks. I tried to skip this step once – ONCE. Let’s just say that pendant is now permanently part of its mold and serves as a reminder of my hubris. A good coating of cooking spray makes removal smooth as butter.
Speaking of molds – don’t go fancy! Those expensive specialty molds? Save your money. I’ve found that simple plastic bowls from the dollar store work perfectly. Just make sure they have smooth sides and a nice round bottom (we’re still talking about molds here, people).
Mixing the concrete is where the magic happens – or in my case initially, where disasters started. The consistency should be like thick pancake batter. Too runny, and it’ll take forever to set. Too thick, and you’ll get air pockets. I use a disposable cup to measure: 3 parts concrete to 1 part water usually does the trick.
Temperature matters more than you’d think! I tried doing this in my garage during summer and the concrete set WAY too fast. Now I work in my basement where it’s cooler, and I have much more working time. If you’re mixing in hot weather, use cold water to slow down the setting time.
Want to know my secret for super smooth finishes? After the initial cure (about 24 hours), I wet-sand with increasing grits of sandpaper. Start with 80, move to 120, finish with 220. Yes, it’s messy. Yes, it’s worth it. Wear a mask though – learned that one the hard way after looking like a cement statue myself.
The absolute trickiest part? Getting the pendant to hang straight. I now use a level and mark the cord channel position precisely before pouring. Before that, I had a few pendants that looked like they were trying to escape their mounting point.
Here’s something nobody tells you about concrete pendants: they can be surprisingly heavy. Make sure your ceiling mounting point can handle the weight. I use proper electrical boxes rated for at least 25 pounds. Better safe than sorry – especially when “sorry” means concrete meets floor!
One cool customization trick: add a tiny bit of concrete pigment to your mix. I did a batch with charcoal pigment that turned out this gorgeous deep gray color. Just don’t go overboard – a little goes a long way unless you’re going for that Grimace-purple look.
And remember, curing takes time. I know you’re excited to hang your creation, but give it at least 3-4 days before installing. I got impatient once and… well, let’s just say my workbench still has a concrete pendant-shaped impression in it.
The final step that makes all the difference? Sealing. Use a good quality concrete sealer to protect your work and give it that professional finish. Plus, it makes dusting way easier – because yes, concrete lights do collect dust, and no, you don’t want to be up on a ladder cleaning them every week.
Just keep in mind that your first attempt might look more “industrial” than “industrial chic” – and that’s okay! Each DIY Lighting projects gets better, and pretty soon you’ll be the one giving advice to friends who can’t believe you made that gorgeous pendant light yourself.
There you have it – 7 brilliant ways to light up your life and your home!
These DIY lighting projects are more than just money-savers; they’re conversation starters, mood-setters, and personal expressions of your creativity.
Remember, the beauty of DIY is in the process as much as the result. So don’t be afraid to experiment, make mistakes, and most importantly, have fun!
Whether you’re cosying up under your new mason jar pendants or showing off your industrial chic copper pipe lamp, you’ll bask in the warm glow of accomplishment every time you flick that switch.
Now, let your imagination flow and illuminate your world – one crafty DIY Lighting projects at a time!